


STEAM GENERATOR REPLACEMENT
Description
This tutorial will show how to replace the steam generator
| Activities: | 18 |
| Difficulty: | Medium |
Necessary Tools
- Phillips Screwdriver
- 14mm Key
- Cable cutters
Replacement Parts
- Steam generator
STEAM GENERATOR REPLACEMENT
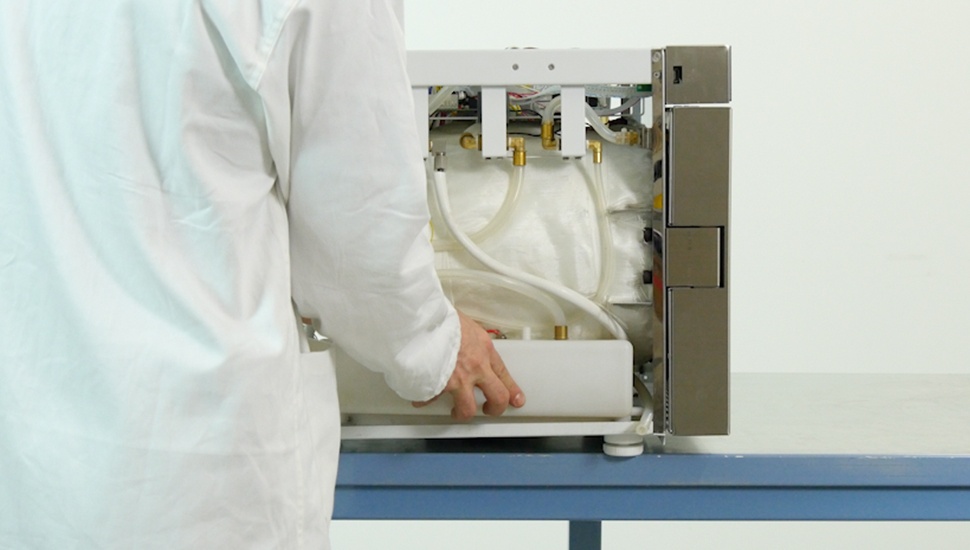
Step 1
Disassembly
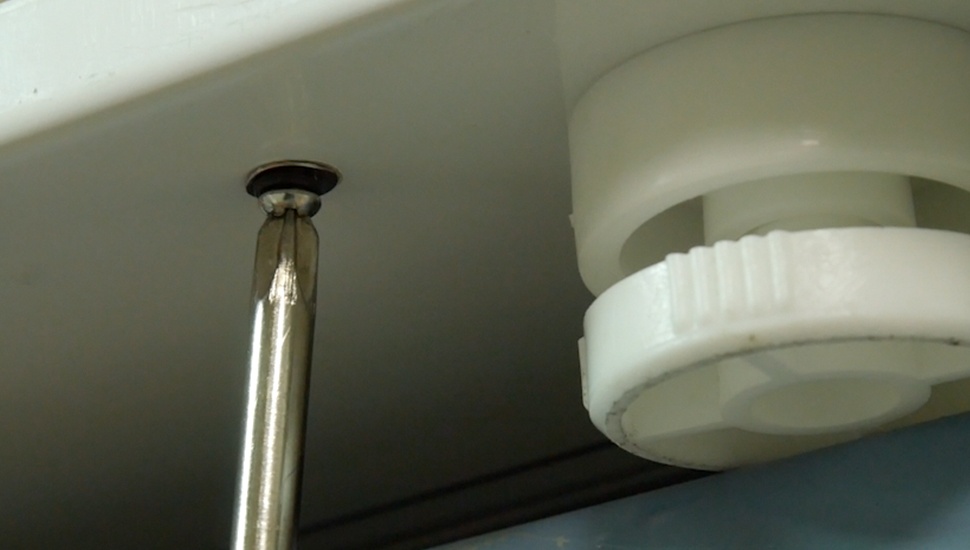
Please unscrew the 2 used water tank screws
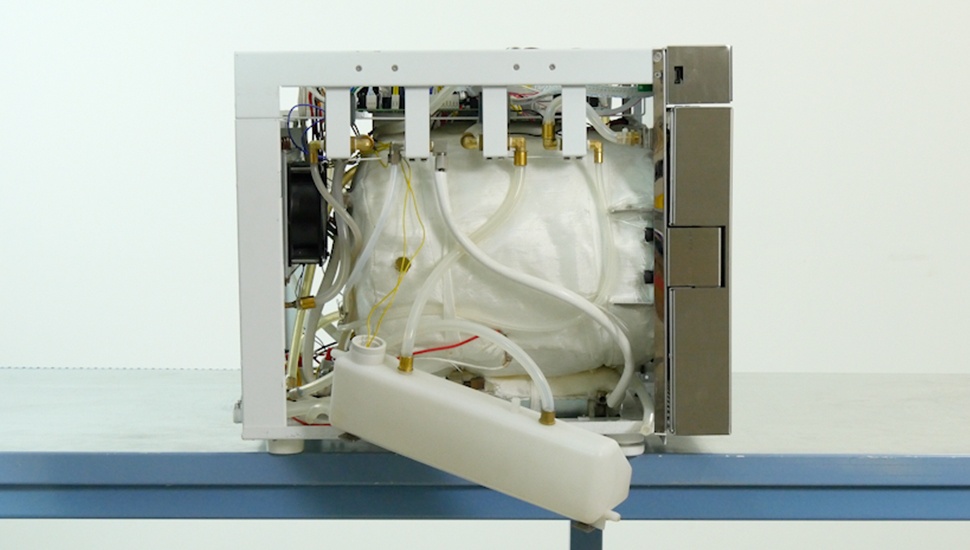
Step 2
Disassembly
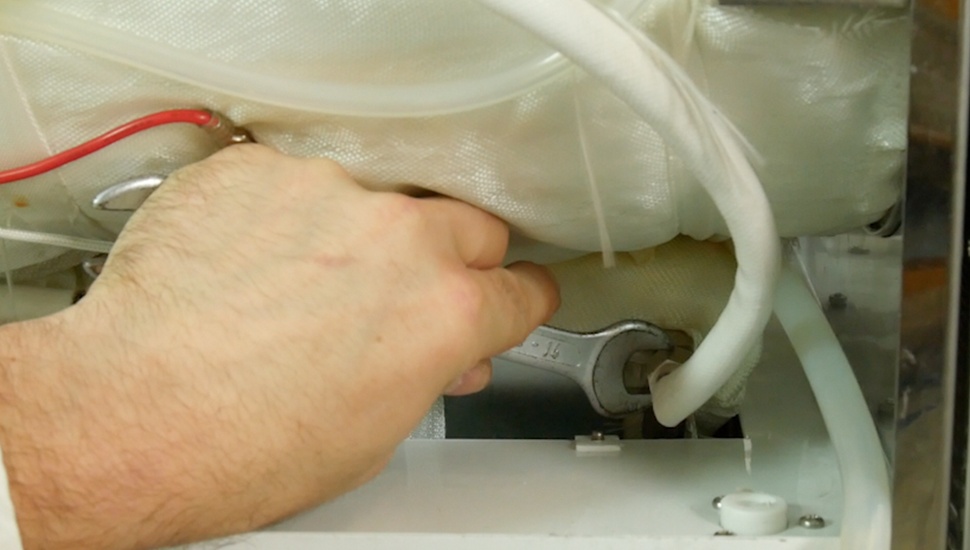
Please unscrew the 2 entry and exit connectors of the steam generator through 14mm key
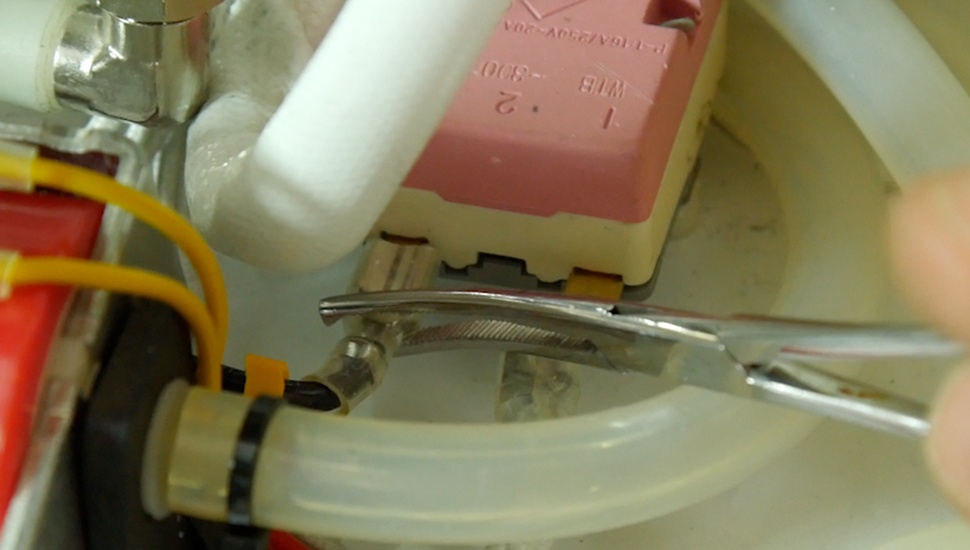
Step 3
Disassembly
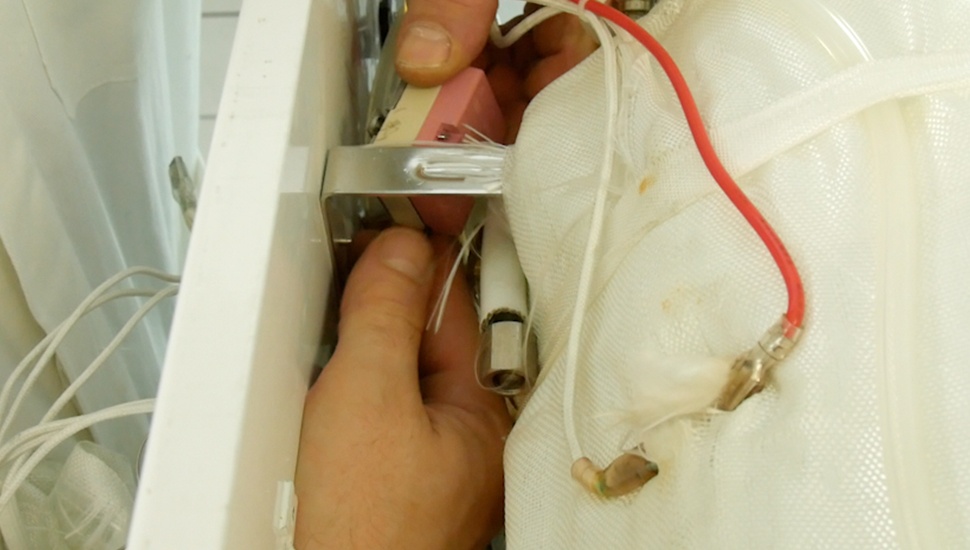
Please unscrew the thermostat (2 screws)
Step 4
Disassembly
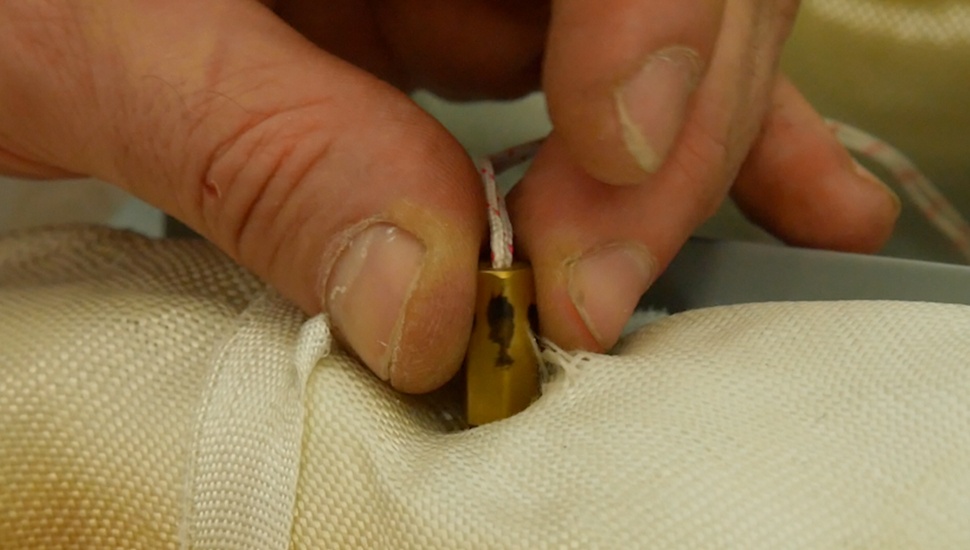
Please disconnect the temperature sensor of the generator and pull it out
Step 5
Disassembly
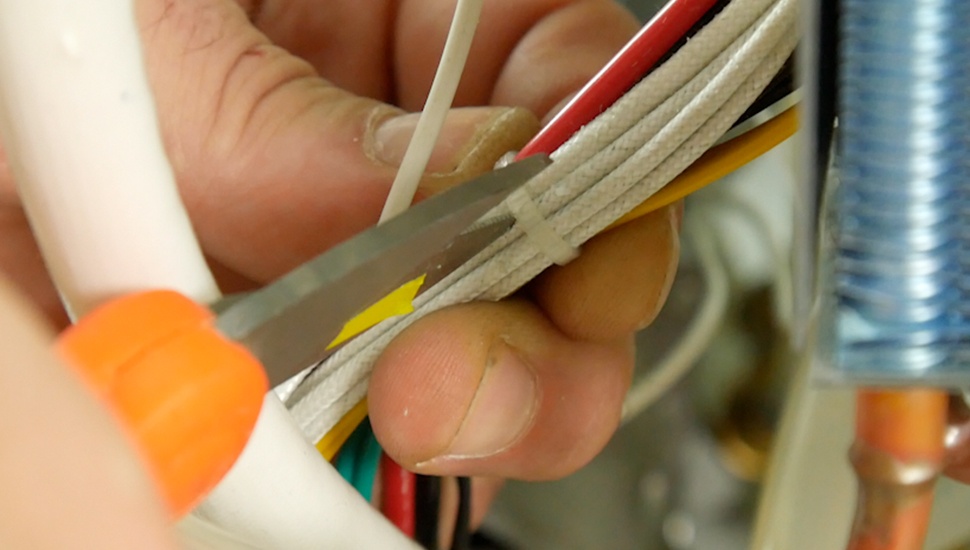
Please cut all cable ties
Step 6
Disassembly

Please disconnect the white cables of the resistance from the socket of PCB main board (the first and second position of the socket)
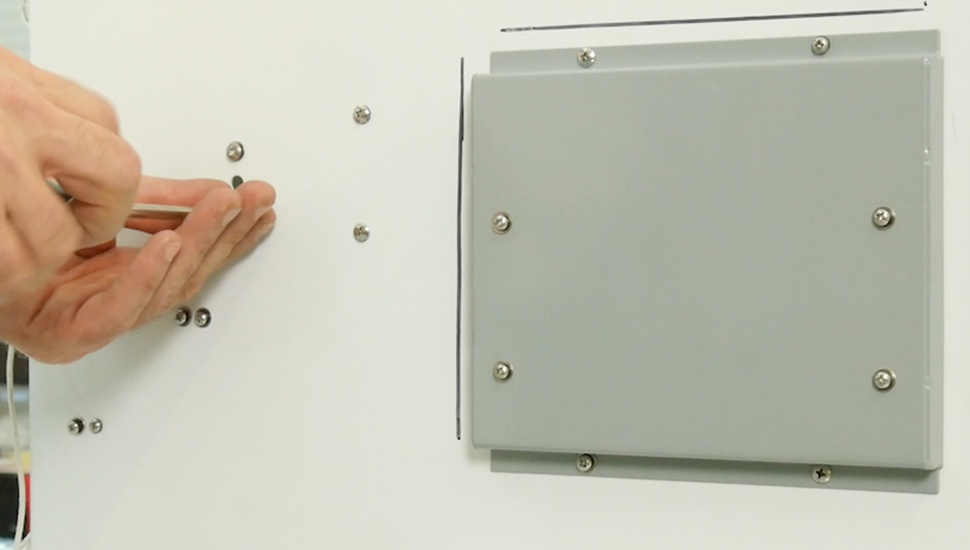
Step 7
Disassembly
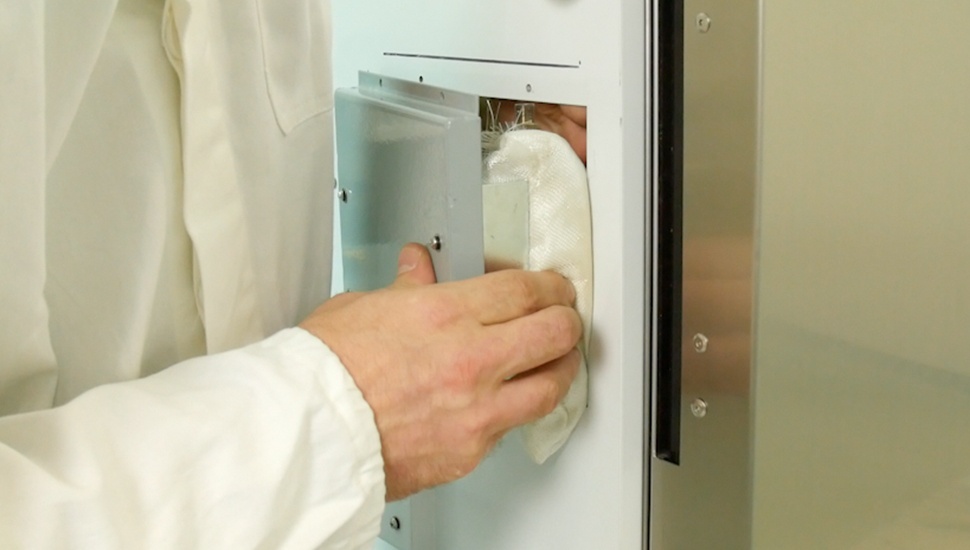
Please turn over the machine with the left side up and unscrew the 4 screws of the window
Step 8
Replacement
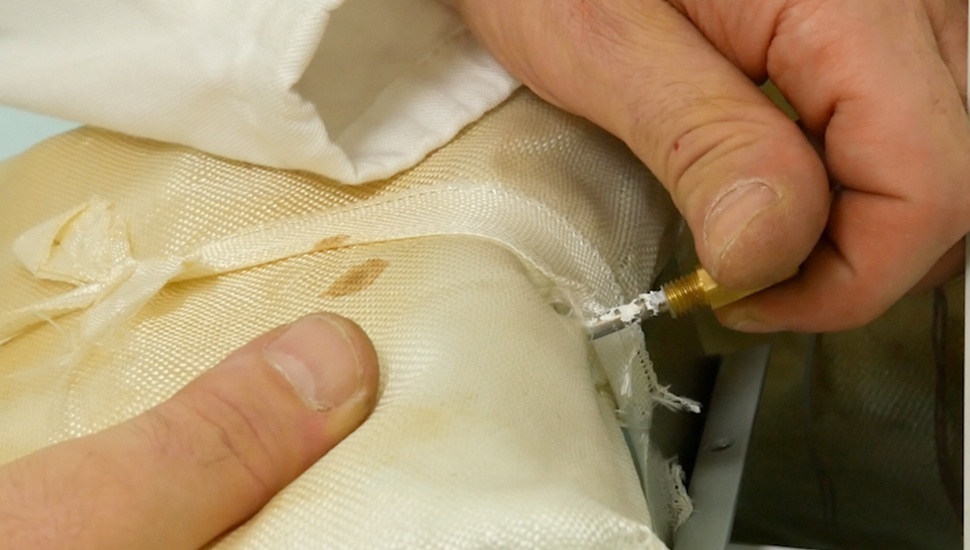
Please disconnect the temperature sensor of the generator and pull it out
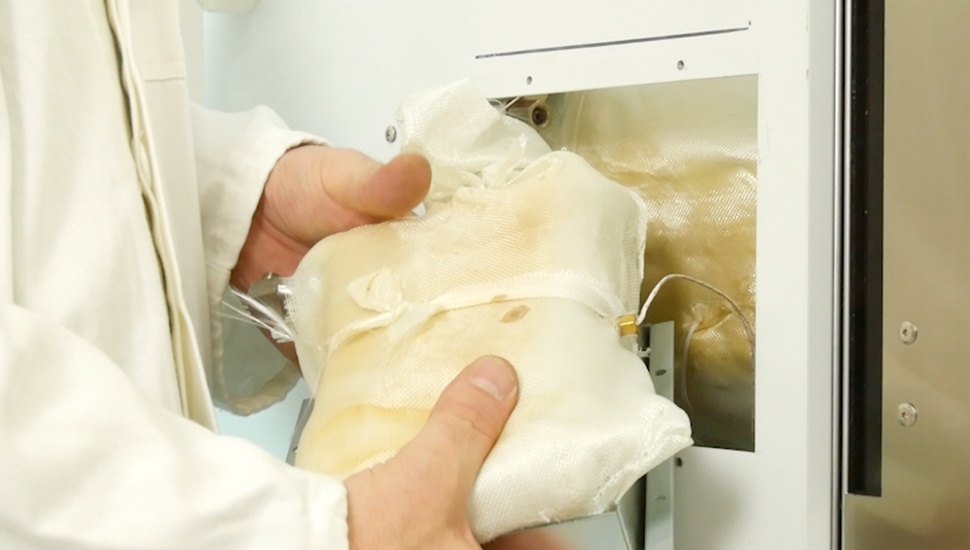
Step 9
Replacement
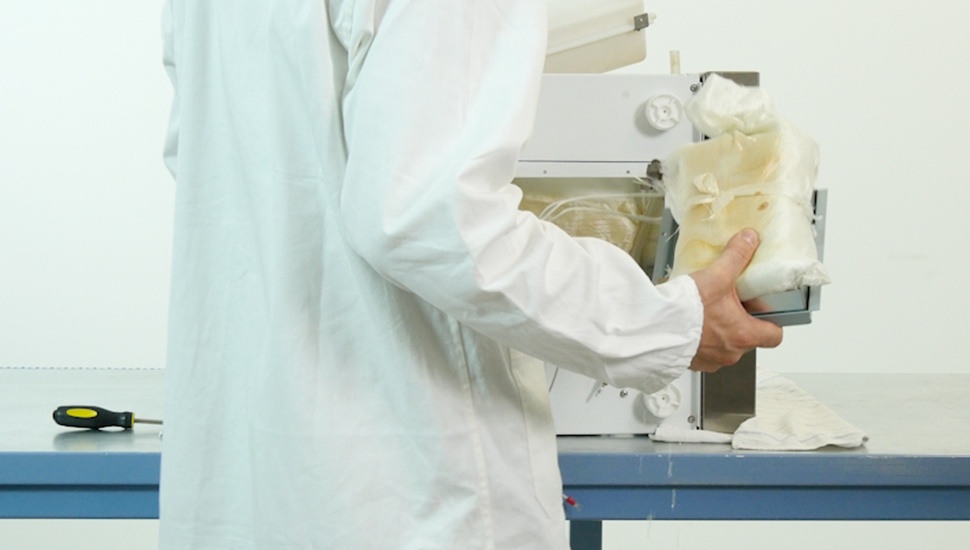
Please and replace the steam generator with a new one
Step 10
Replacement
Please fix the temperature sensor to the steam generator
Step 11
Assembly
Please insert the thermostat in the window
Step 12
Assembly
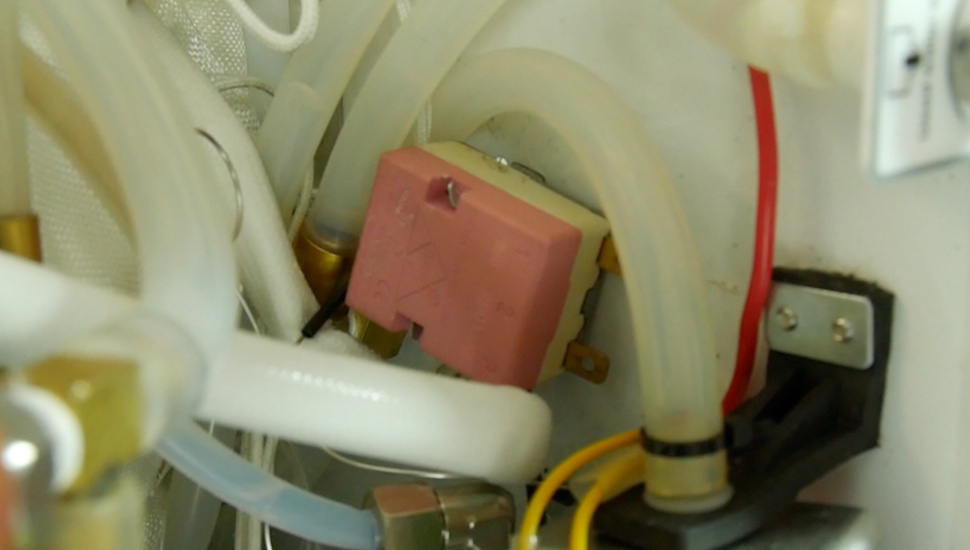
Please place the thermostat in its original position and tighten 2 screws
Step 13
Assembly

Please connect 2 connectors faston to the thermostat (white and black cable)
Step 14
Assembly
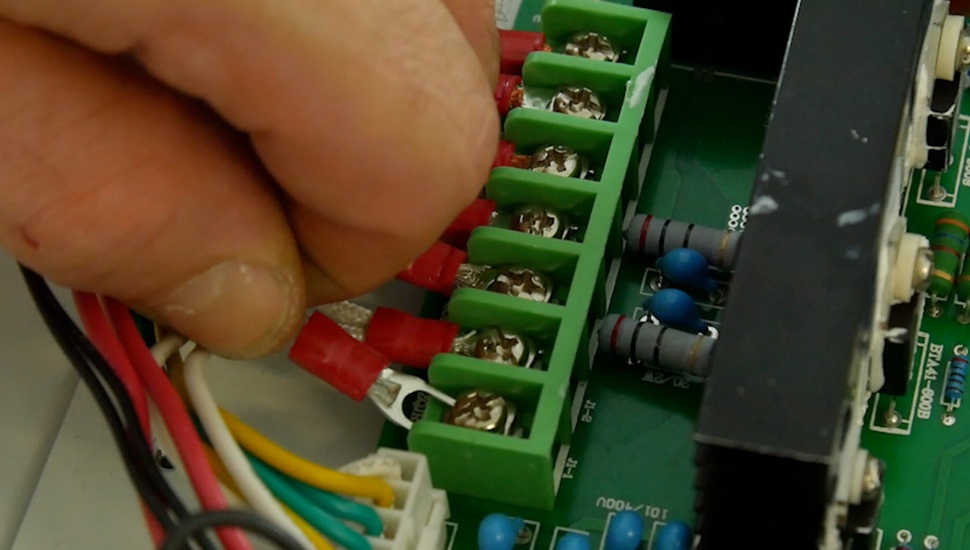
Please connect the cables on the main board
Step 15
Assembly
Please tighten the window (4 screws)
Step 16
Positioning and pipes connection
Please place the machine in original position
Step 17
Positioning and pipes connection
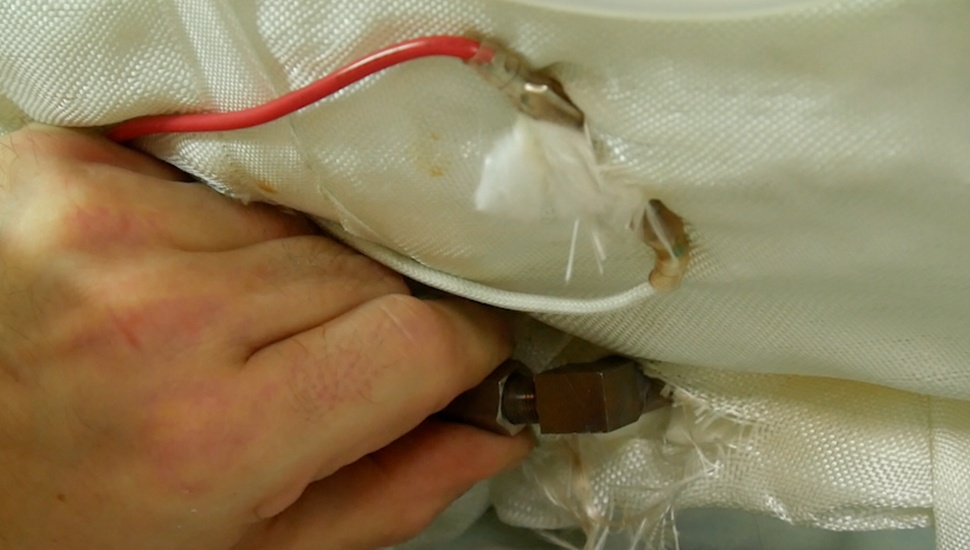
Please connect the entry and exit connectors of the steam generator and tighten them with the 14mm key
Step 18
Positioning and pipes connection
Please connect drainage tank pipe and fix it through his 2 screws