


PCB-MAIN BOARD REPLACEMENT
Description
This tutorial will show you how to replace a non-functional pcb main board
| Activities: | 7 |
| Difficulty: | Medium |
Necessary Tools
- Phillips Screwdriver
- Cable cutters
Replacement Parts
- PCB-Main Board
PCB-MAIN BOARD REPLACEMENT
Step 1
Removing the upper cover panel
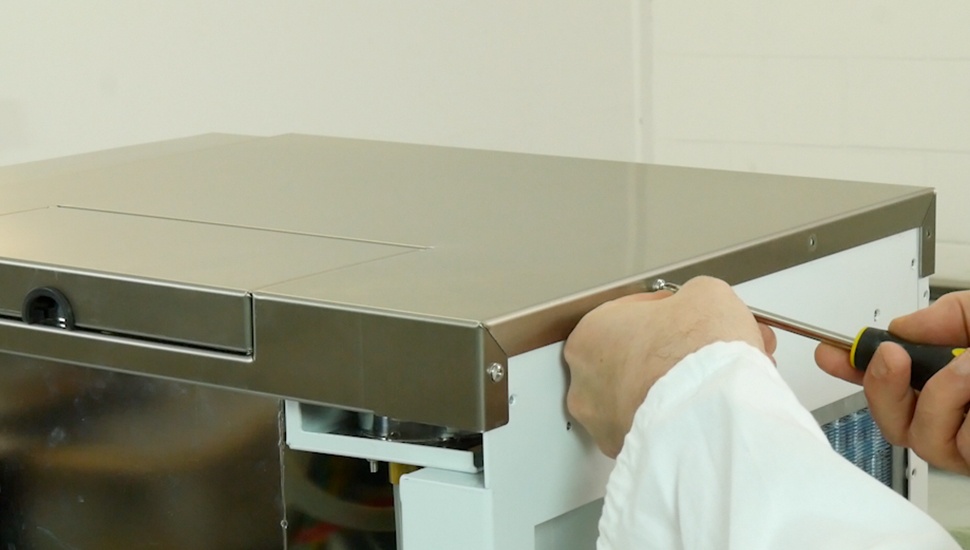
Please unscrew 4 screws of the upper cover plate through Phillips screwdriver
Step 2
Removing the plastic cover
Please remove the 2 screws from the plastic cover using a Philips screwdriver
Step 3
Removing the plastic cover
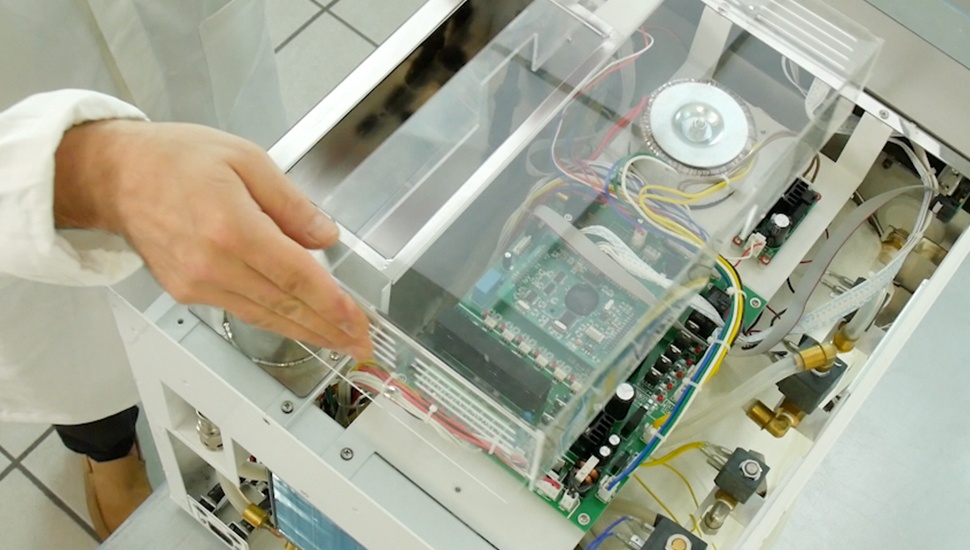
Please pull the the plastic cover off
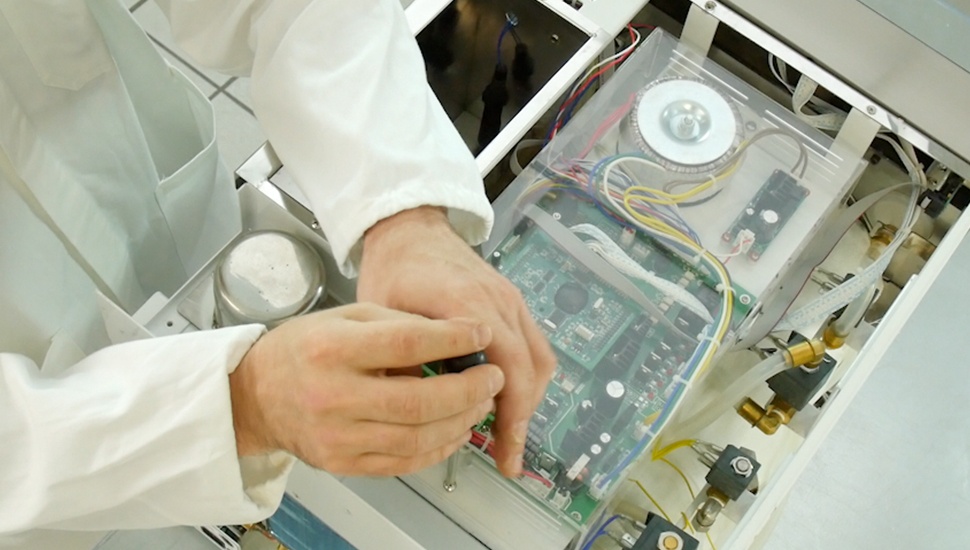
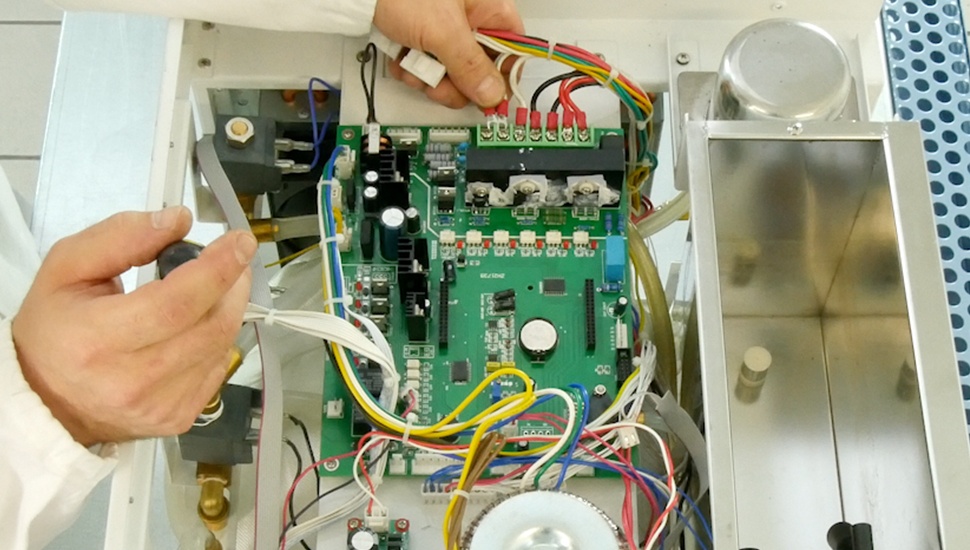
Step 4
Replacement

Please disconnect all the cables of the board
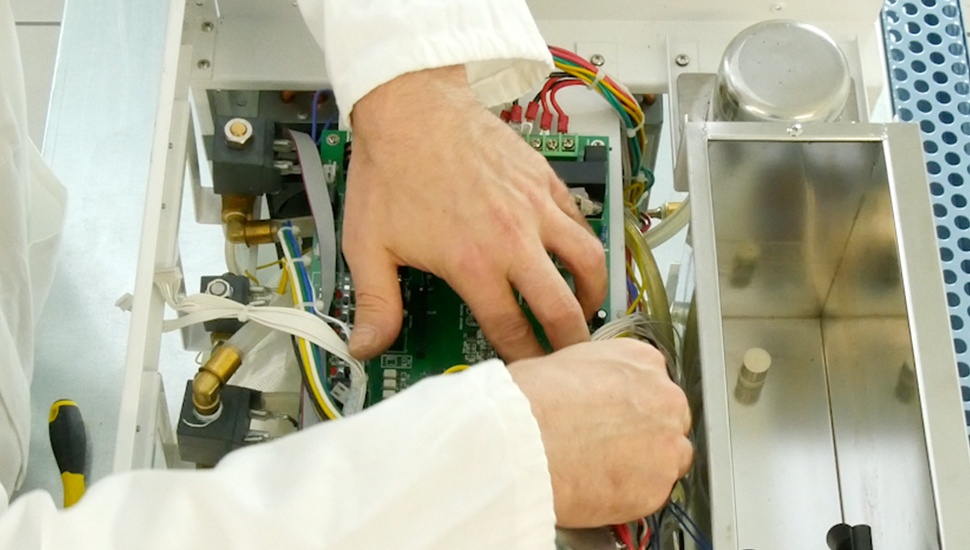
Step 5
Replacement
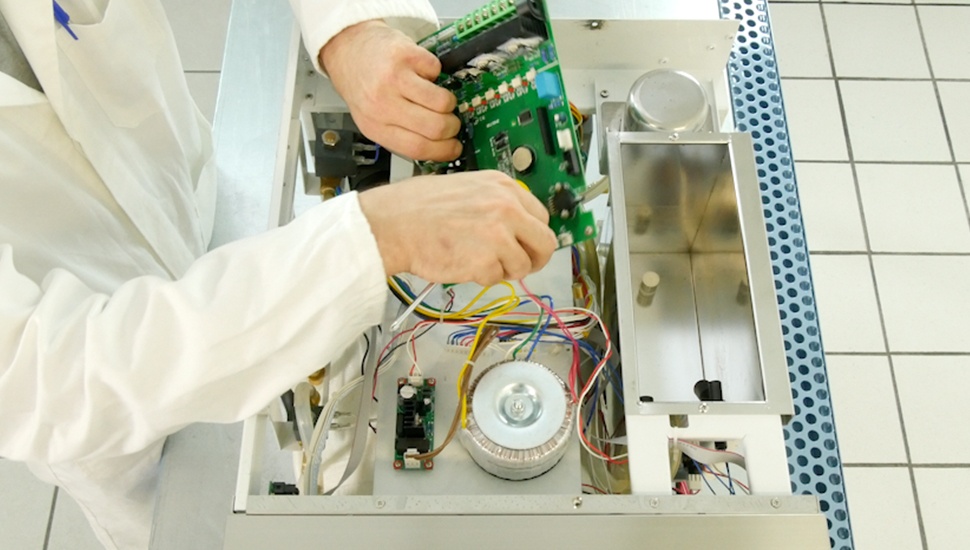
Please disconnect the pipe from the pressure sensor and pull the PCB out by unscrewing the 4 screws
Step 6
Replacement
Please replace PCB with the new one
Step 7
Re-assembly
Please fix the PCB to its socket with 4 screws and connect the pipe to the pressure sensor and all cables to the board