


CLEAN WATER TANK REPLACEMENT
Description
Check, clean or replace the clean water tank. Follow this guide to learn more
| Activities: | 12 |
| Difficulty: | Medium |
Necessary Tools
- Phillips Screwdriver
- 17mm Key
- Cutters
Replacement Parts
- Clean water tank
CLEAN WATER TANK REPLACEMENT
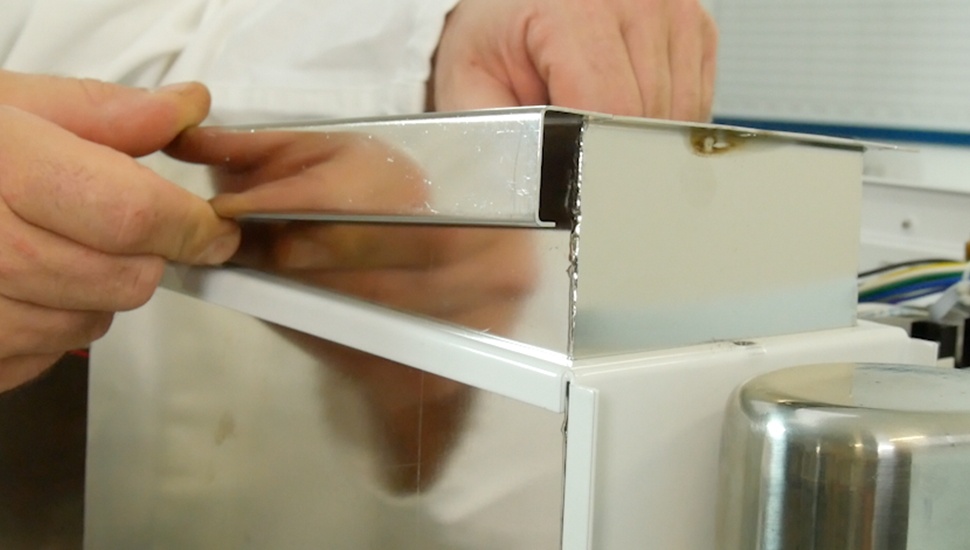
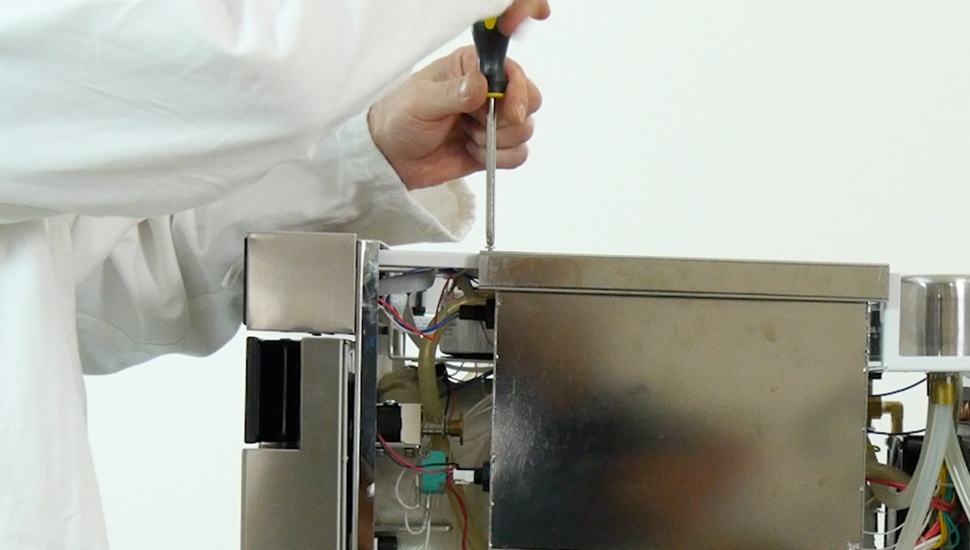
Step 1
Disassembly
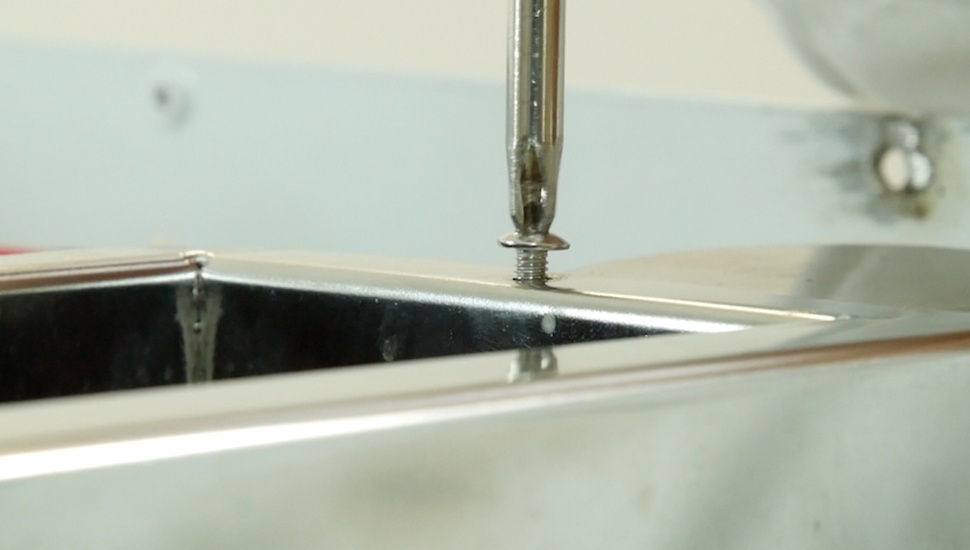
Please unscrew the tank (2 screws)
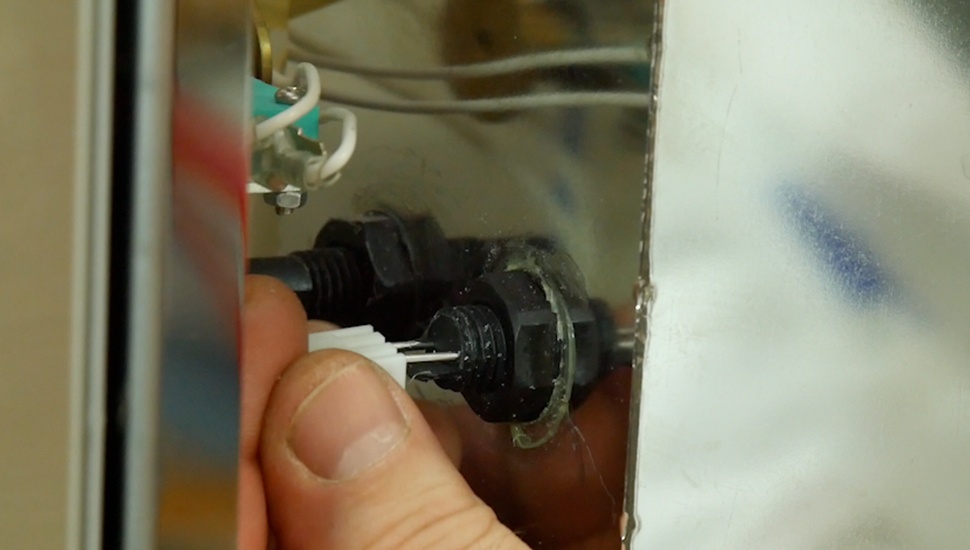
Step 2
Disassembly
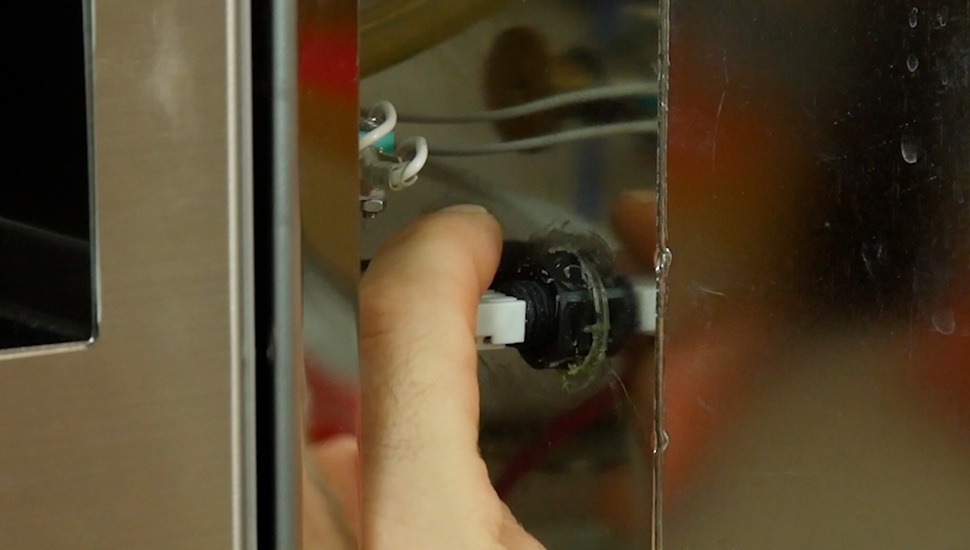
Please remove the connector from the water quality sensor
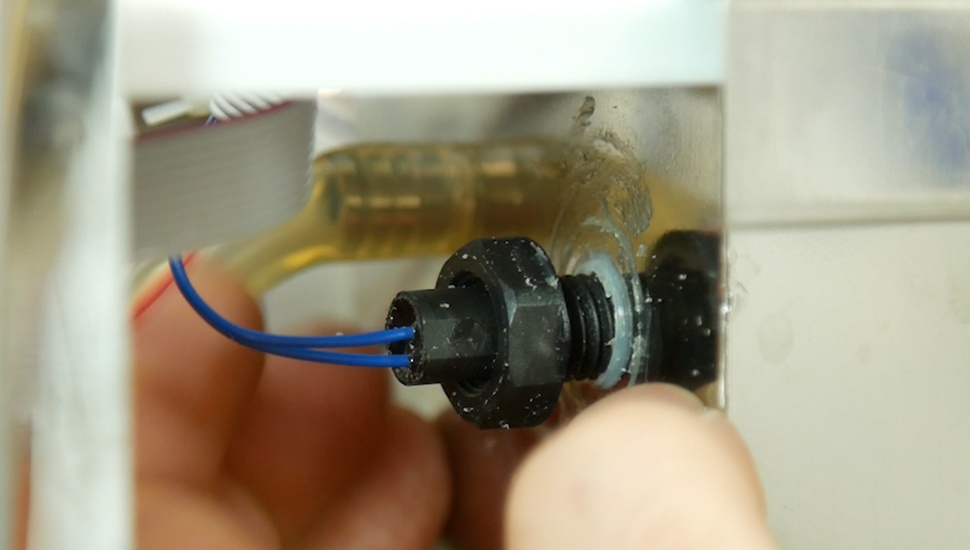
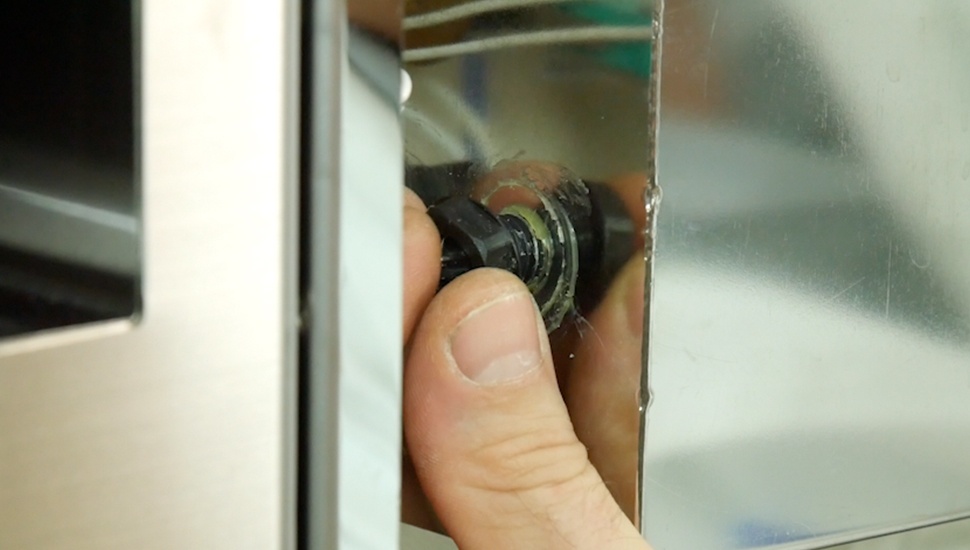
Step 3
Disassembly
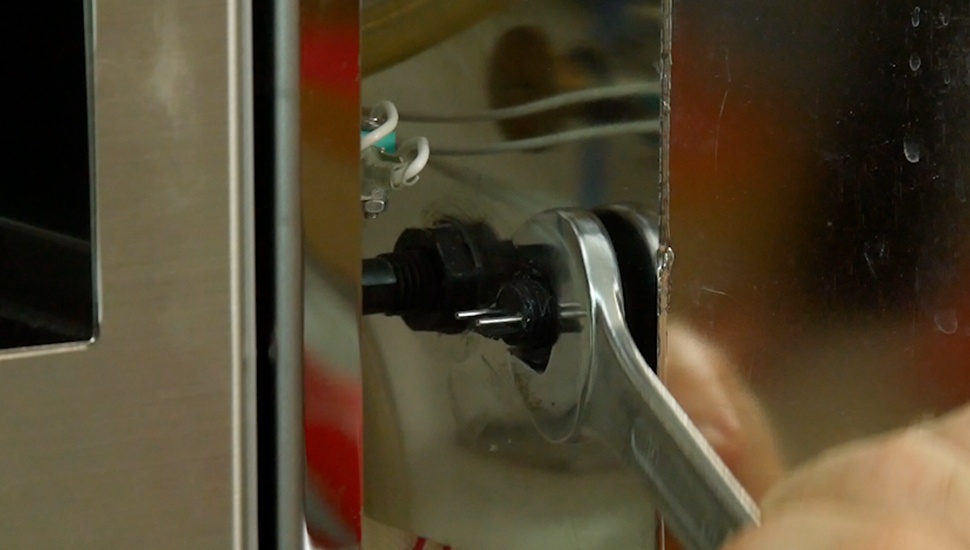
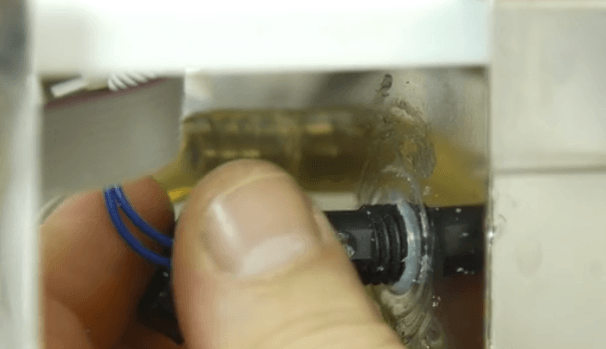
Please unscrew the nut on the lower water level sensor
Step 4
Disassembly
Please unscrew the nut on the upper water level sensor and remove the pins on the level sensors from the PCB main board connector
Step 5
Disassembly
Please pull the level sensor out
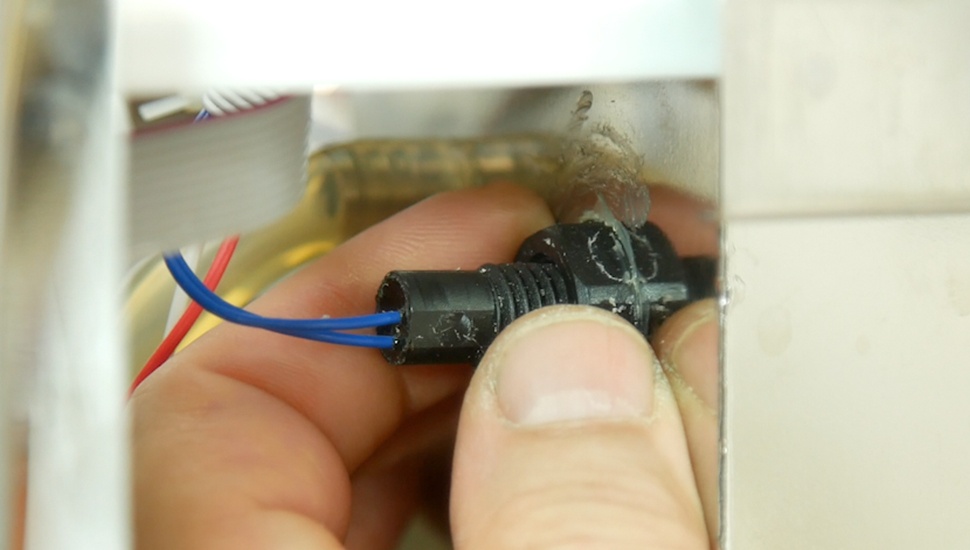
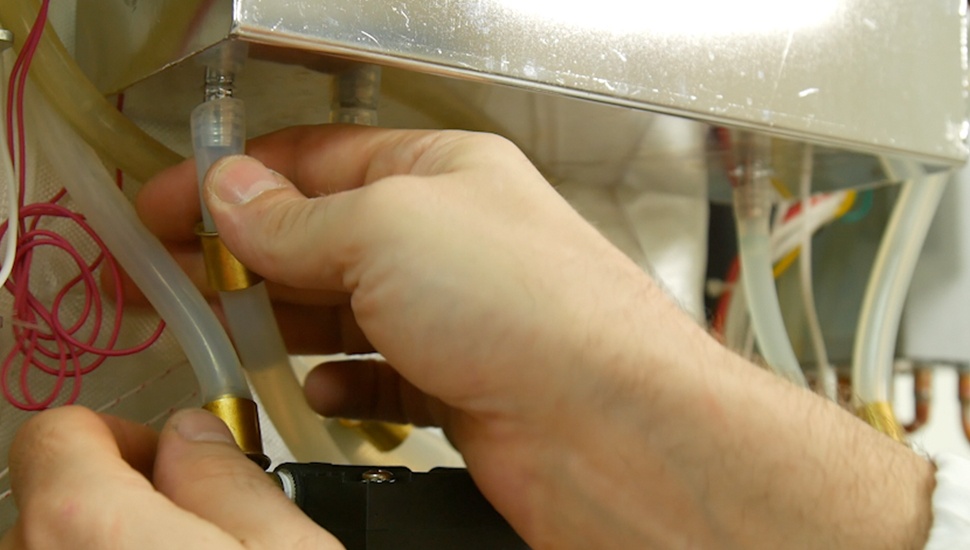
Step 6
Disassembly

Please disconnect the entry and exit pipes from the tank
Step 7
Replacement
Please replace the clean water tank with a new one
Step 8
Assembly
Please connect the entry and exit pipes to the tank
Step 9
Assembly
Please tighten the nut on the upper water level sensor put the pins on the PCB main board connector
Step 10
Assembly
Please tighten the nut on the lower water level sensor
Step 11
Assembly
Please fix the connector to the water quality sensor
Step 12
Assembly
Please tighten the 2 screws of the clean water tank